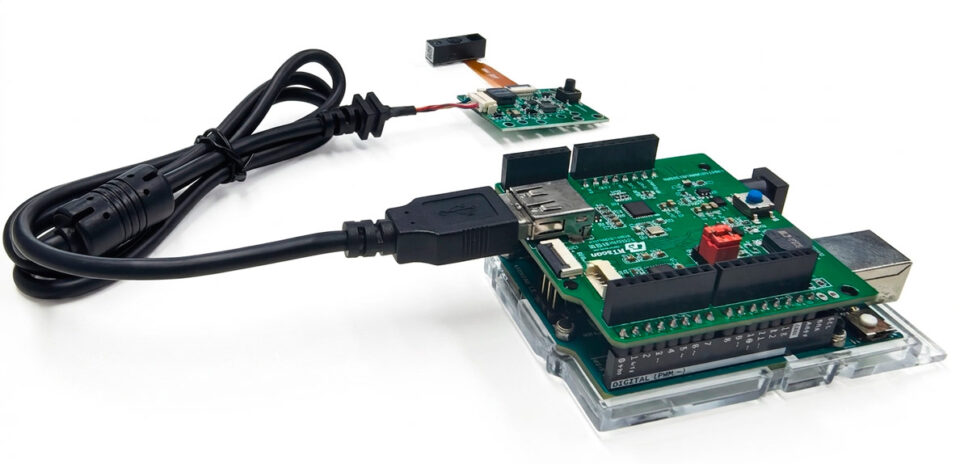
Raspberry Pi barcode scanner: connect OEM barcode scanners modules with Raspberry Pi
If you are using Raspberry Pi microcontroller / single-board computer to develop your system and need a 1d/ 2d OEM barcode scanner module at the same time, then this article would be helpful for you: here we introduce how we connect the Raspberry Pi 3 Model B+ micro-controller with RTscan OEM barcode scanner modules and how to make them work each other.
When we try to integrate an OEM barcode scanner with the Raspberry Pi microcontroller board, we would meet these problems:
- The OEM barcode scanner module with 12pins TTL interface, but Raspberry Pi board without this type of connector, then how can we connect them together?
- Whatever the OEM barcode scanner module we choose, how can we make the barcode scanner to work with Raspberry Pi and also upload decoded data to the Raspberry Pi system?
Read below and find how RTscan provides solutions for the above questions.
Part I: Introduction of Raspberry Pi 3 Model B+ and RTscan OEM barcode scanners
Raspberry Pi 3B+:
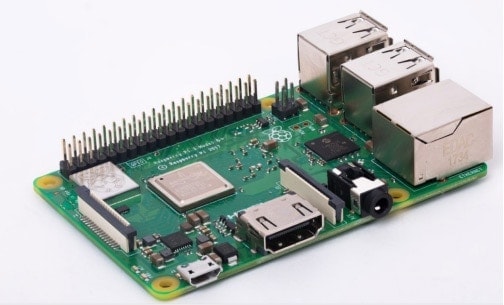
Raspberry Pi 3 Model B is the latest iteration of the most popular single-board computer. It provides a quad-core 64-bit ARM Cortex-A53 CPU running at 1.2GHz, four USB 2.0 ports, wired and wireless networking, HDMI and composite video output, and a 40-pin GPIO connector for physical interfacing projects.
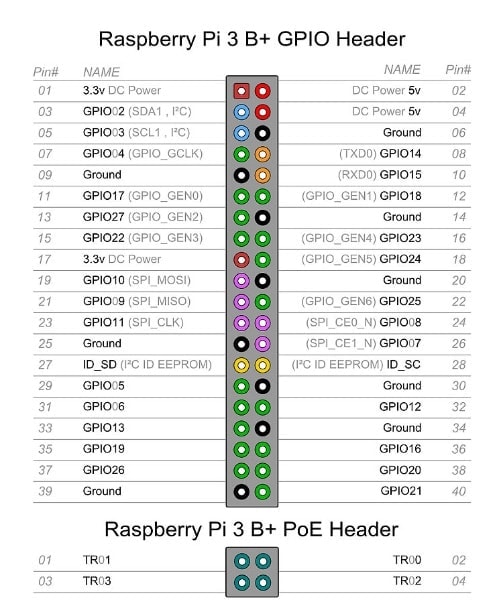
Raspberry Pi 3 Pinout
And for our application to connect with the OEM barcode scanner module, we need the 3.3V (or the 5.0v) power supply pin, and GND pin, RXD, TXD pins.
And also, we will demo how to connect our OEM barcode scanner with Raspberry Pi via the USB interface.
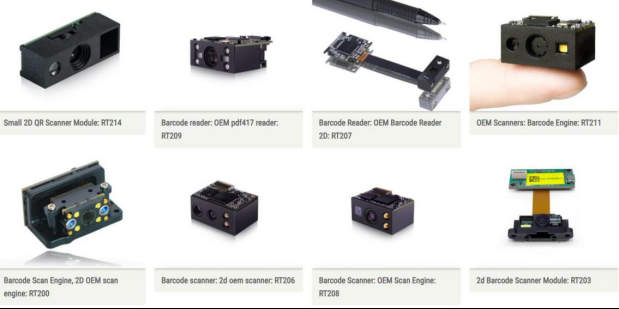
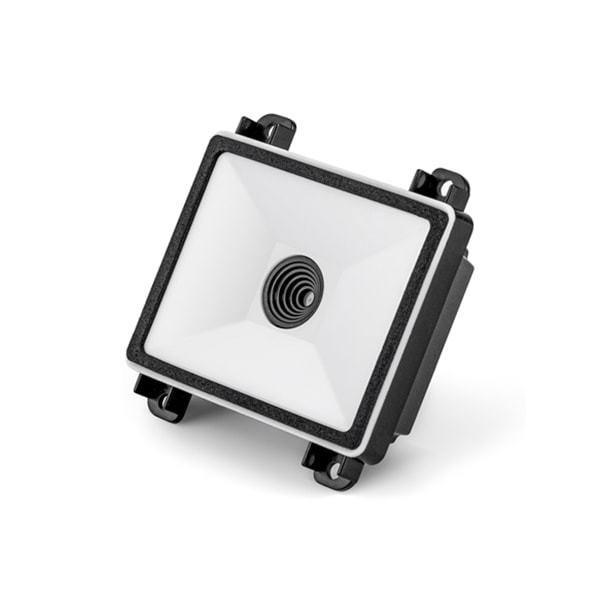
RTscan OEM barcode scanners:

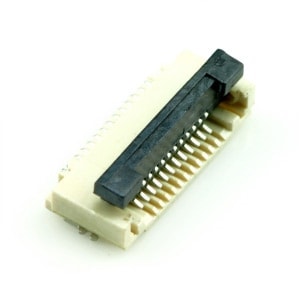
They all with 12pins connector and TTL-232 signal, and use FFC cable and connector like this :
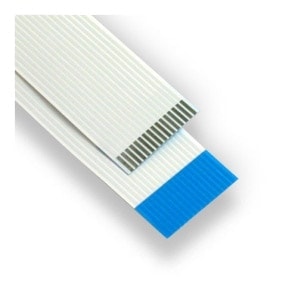
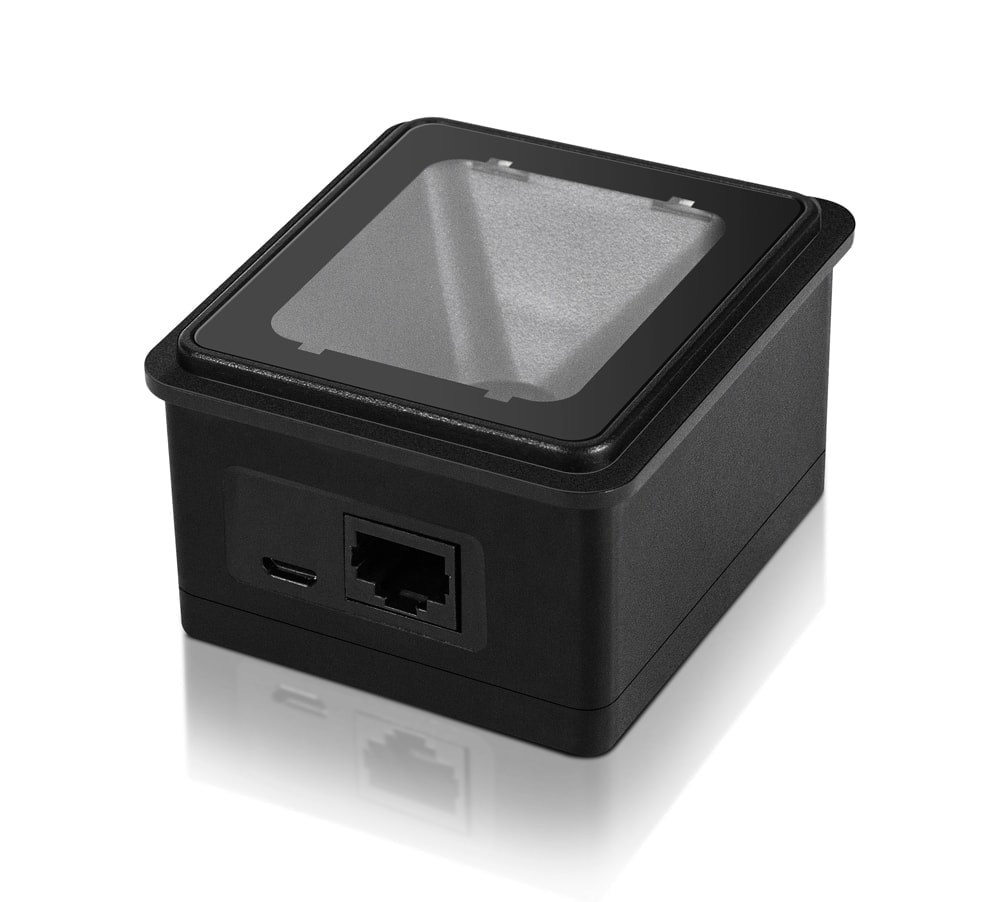
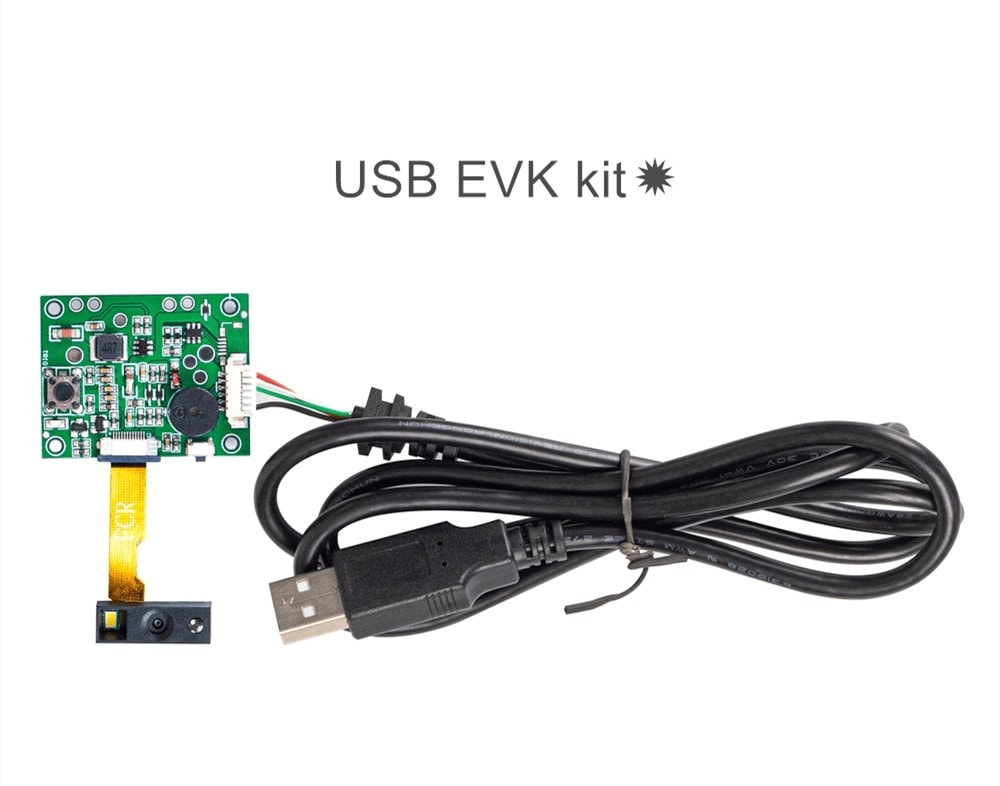
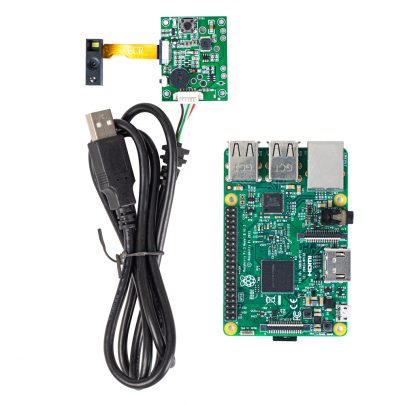
And if we use an EVK board, they can come out with a USB interface:
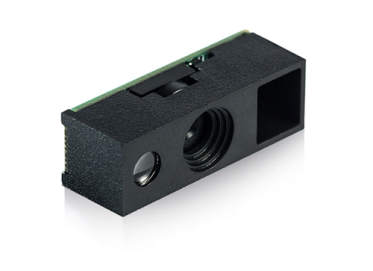
In this article, we choose RT214 as an example to do the connection and integration.
Part II: Connection solutions:
Connect via USB EVK Board
RTscan provides a USB evk board that connects with an OEM barcode scanner module and comes out with a USB interface, then we can connect the scanner module with the Raspberry Pi via the USB interface.
♠ Barcode Scanners that are compliant with this solution:
- All RTscan OEM scanner modules
- All RTscan’s other barcode scanners that have a USB interface.
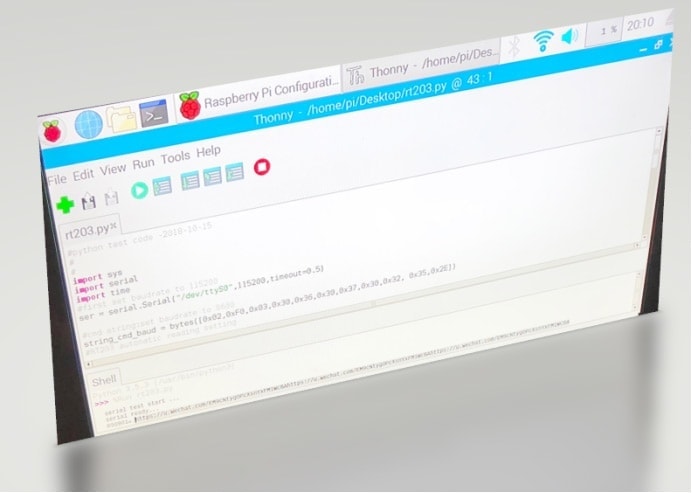
Part III: Make the OEM barcode scanner module work with Raspberry Pi system/ Python Sample code:
We developed Python sample code to work with our scanners so that you can copy our source code and program your system very quickly, without needing to write the whole code one by one; save your time and speed up your integration work!
In this article, we choose RT214 as an example to do the programming. Below, we show how they work together when they connect via USB (USB-CDC, USB-HID).
1. USB CDC (virtual com) Communication
If we want to use the USB port as a virtual serial port, set the RT214 to USB COM port emulation mode. And the RT214 scanner will be detected as a COM device in the Raspberry Pi.
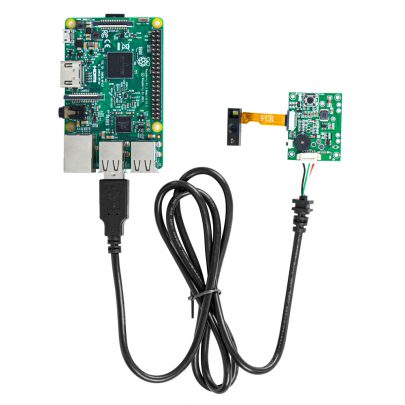
Step 1: Hardware connection
Connect the RT214 + USB Kit board to the USB port of the Raspberry Pi:
Step 2: RT214 settings
RT214 set to USB CDC mode, scan the following Setting bar code
Enter setup
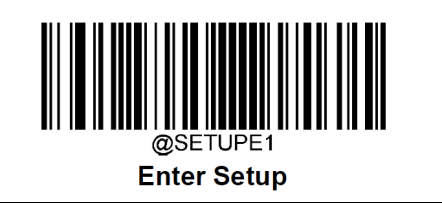
Set to USB-CDC mode

Exit setup

Step 3: Raspberry Pi Settings
The RT214 USB CDC mode is the USB COM port emulation mode. The device name is usually:
/dev/ttyACM*
Step 4: Run the Python sample code
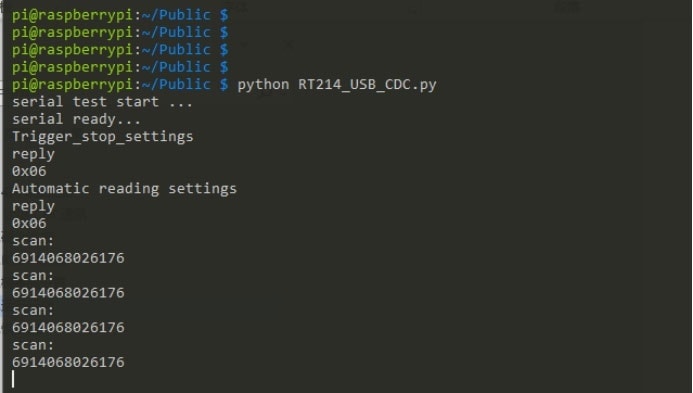
Run: python RT214_USB_CDC.py
[python]
import sys
import serial
import time
# raspberry pi usb cdc
# default usb device /dev/ttyACM0 115200 8n1
ser = serial.Serial(“/dev/ttyACM0”, 115200, timeout=0.5)
# raspberry pi ttl
# ser = serial.Serial(“/dev/ttyS0”, 115200, timeout=0.5)
#windows
# ser = serial.Serial(“COM45”, 115200, timeout=0.5)
print(‘serial test start …’)
if ser != None:
print(‘serial ready…’)
else:
print(‘serial not ready’)
sys.exit()
ser.timerout = 1 # read time out
ser.writeTimeout = 0.5 # write time out.
def printHex(_str):
for i in _str:
print(‘%02x’ % i, end=” “)
print(“”)
# Command Syntax
#
# Prefix Storage Tag SubTag {Data} [, SubTag {Data}] [; Tag SubTag {Data}] […] ;
# Suffix Among which, {data} means integrant while [data] means optional data.
#
# Prefix: “~0000” (HEX: 7E 01 30 30 30 30), 6 characters.
# StorageType:
# “@” or “#”,1 character.
# “@” means permanent setting which will not be lost by removing power from the scanner or rebooting it;
# “#” means temporary setting which will be lost by removing power from the scanner or rebooting it.
# Tag:
# A 3-character case-sensitive field that identifies the desired command group.
# For example, the Tag for the Enable Code 11 is C11 (see Example 1 of Chapter 1).
# SubTag:
# A 3-character case-sensitive field that identifies the desired parameter within the tag group.
# For example, the SubTag for the Enable Code 11 is ENA (see Example 1 of Chapter 1).
# Data:
# The value for a feature or parameter setting, identified by the Tag and SubTag.
# For example, the Data for the Enable Code 11 is 1 (see Example 1 of Chapter 1).
# Suffix:
# “;” (HEX: 3B 03), 2 characters.
def send_cmd(StorageType_Tag):
Prefix = bytes(“\x7E\x01\x30\x30\x30\x30″, encoding=”utf-8”)
Suffix = bytes(“\x3B\x03″, encoding=”utf-8”)
cmd = Prefix + bytes(StorageType_Tag, encoding=”utf-8″) + Suffix
print(“Sending:”)
printHex(cmd)
ser.write(cmd)
time.sleep(0.1)
recv = ser.read(ser.in_waiting)
print(“Response:”)
printHex(recv)
def start_scanning():
print(“start scanning”)
send_cmd(“#SCNTRG1”)
return
def stop_scanning():
print(“stop scanning”)
send_cmd(“#SCNTRG0”)
return
…
Please contact us to get full sample codes: sales@rtscan.net
[/python]
Output:

2 USB-HID
If you prefer to connect the OEM barcode scanner module via USB Keyboard simulation, it also is fine, setup RTscan’s barcode scanner to HID mode,
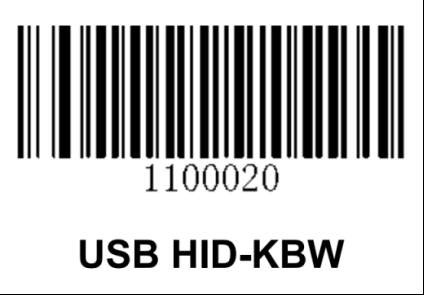

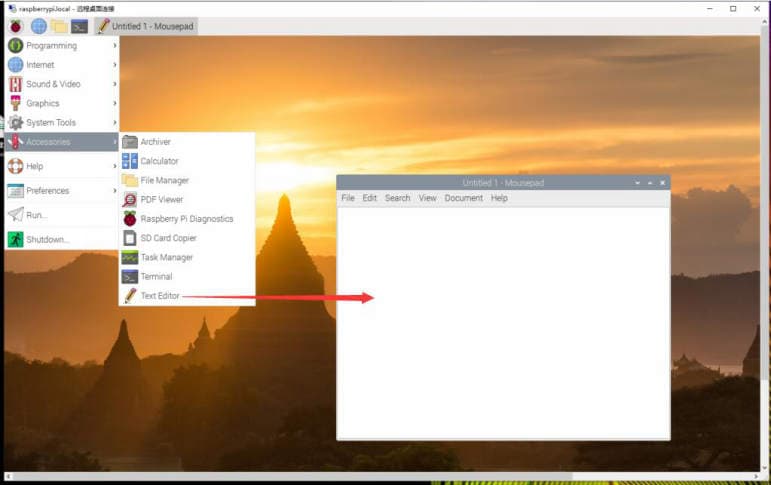
Then open “Text editor” from Raspberry Pi software, run the bar code scanning, the decoded data will show up directly.
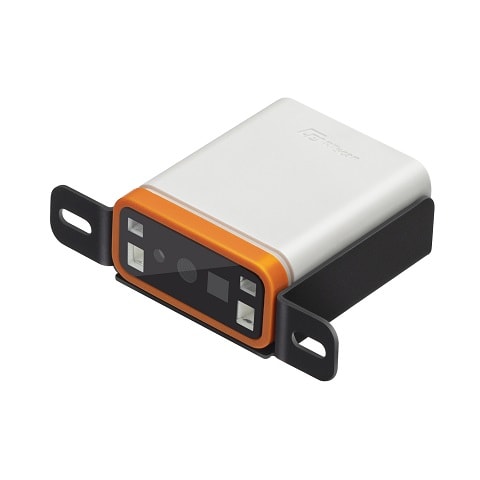
The above python sample code can be used for most of our OEM barcode scanners, includes RT206 RT207 RT208 RT209 RT214, if you want to learn more about them, please view the link below:
Part VI: Video Demo
You can also refer to the following video demo to see how the OEM barcode scanner works with Raspberry Pi:
If you need a barcode scanner module for the Arduino microcontroller, please read:
If you need an embedded type 2d and QR barcode scanner for Arduino, please read:
Embedded QR Code scanner for Arduino
If you need an Embedded barcode scanner for Raspberry Pi, please read: