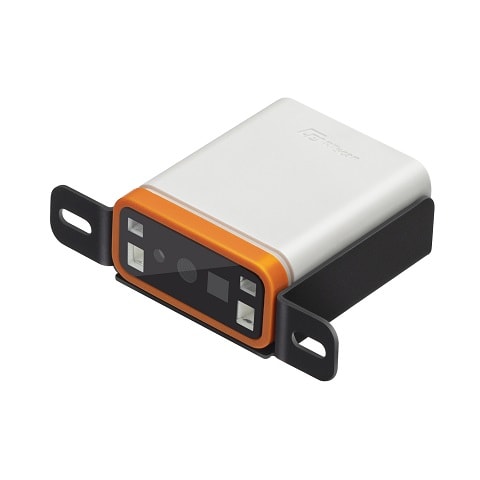
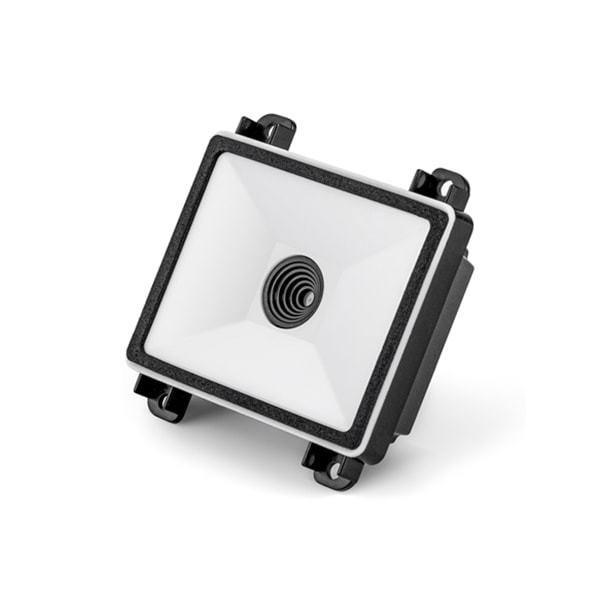
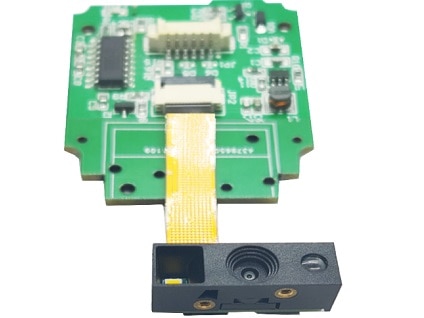
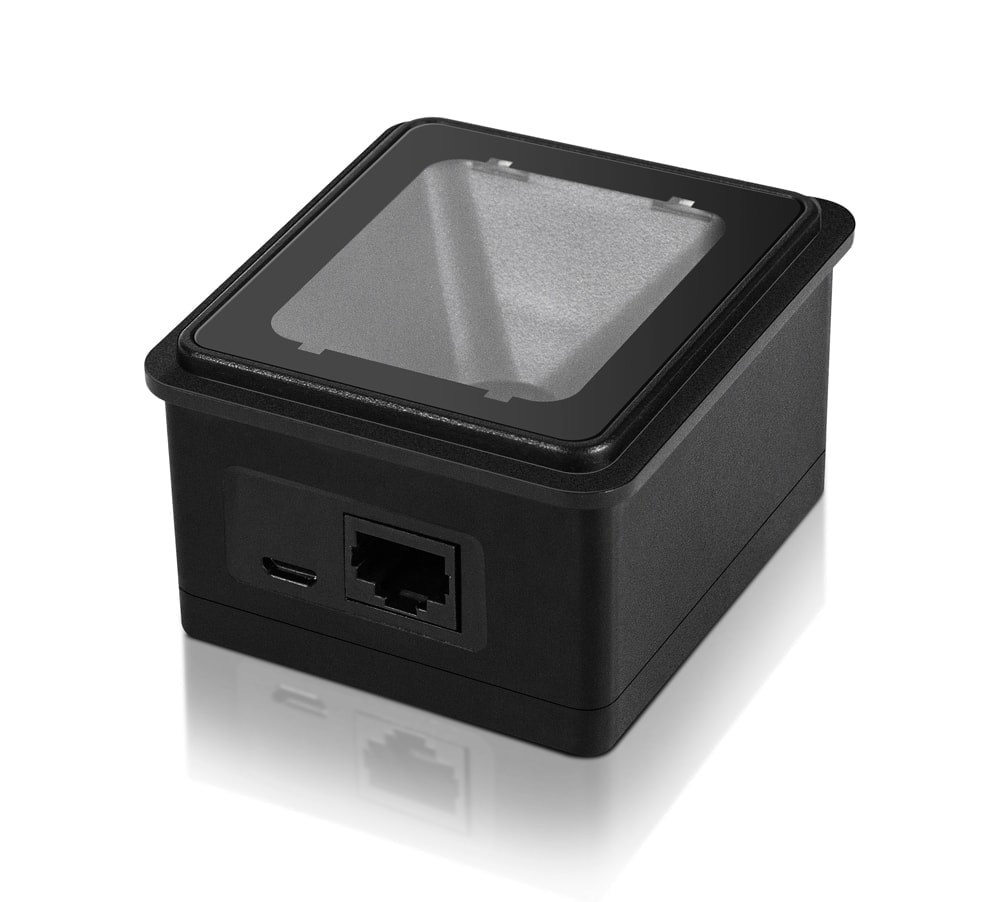
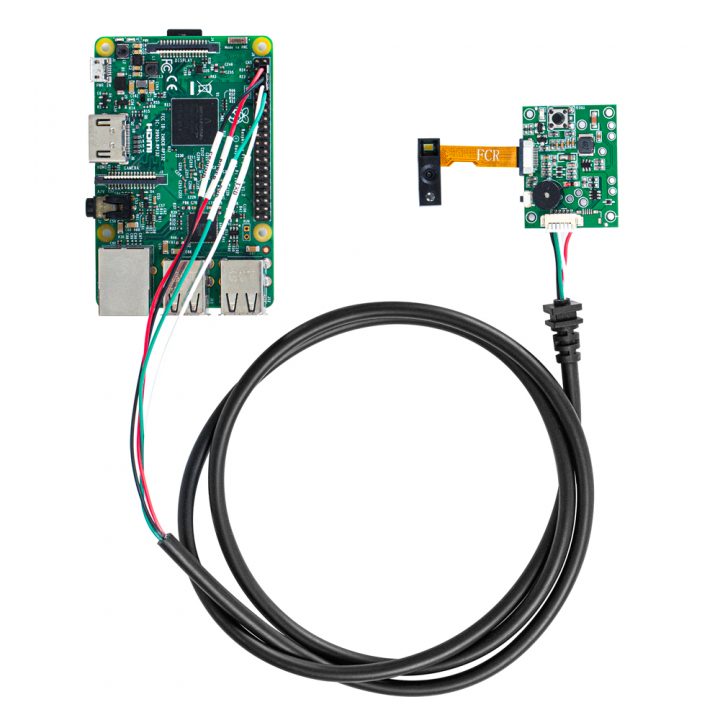
If you are using an Arduino MCU (microcontroller) to develop your system and need an embedded 1D/ 2D QR barcode scanner to work with it, this article will be helpful. Here, we introduce how we connect the Arduino Uno microcontroller with RTscan embedded 2d & QR barcode scanners and make them work together.
When we try to integrate a QR barcode scanner with the Arduino microcontroller board, we would meet these problems:
- The QR barcode scanner normally comes with a USB and RS232 cable, but if the Arduino board does not have this type of connector, how can we connect them together?
- Whatever QR barcode scanners we choose, how can we control them with Arduino and upload decoded data to the Arduino system?
Read below and find out how RTscan provides solutions for the above questions.
Contents
Part I: Introduction of Arduino UNO and RTscan embedded barcode scanner
Part II: Connection solutions
- Connect via USB interface via USB Host Shield
Part III: Sample code/ Control the QR barcode scanner via Arduino system
- USB CDC Communication
- USB-HID Communication
Part VI: Video Demo
Arduino UNO: The UNO is the most used and documented board of the whole Arduino microcontroller family. Many people choose this model for their projects. Arduino Uno has 14 digital input/output pins (of which 6 can be used as PWM outputs), 6 analog inputs, a 16 MHz quartz crystal, a USB connection, a power jack, an ICSP header, and a reset button. It contains everything needed to support the microcontroller.
Arduino UNO:

 Arduino UNO Pinout
RTscan QR barcode scanners:
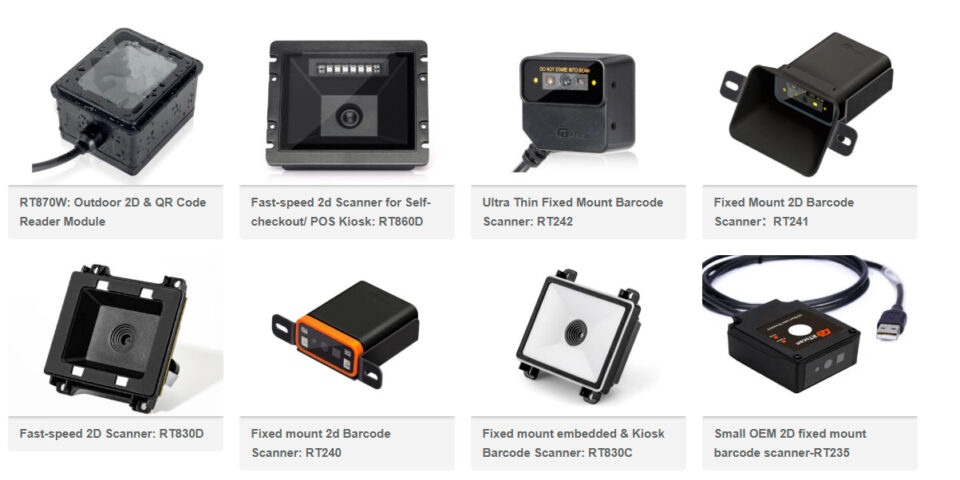
In this article, we choose RT870 and RT830C as examples to introduce our solutions.
Part II: Connection solutions:
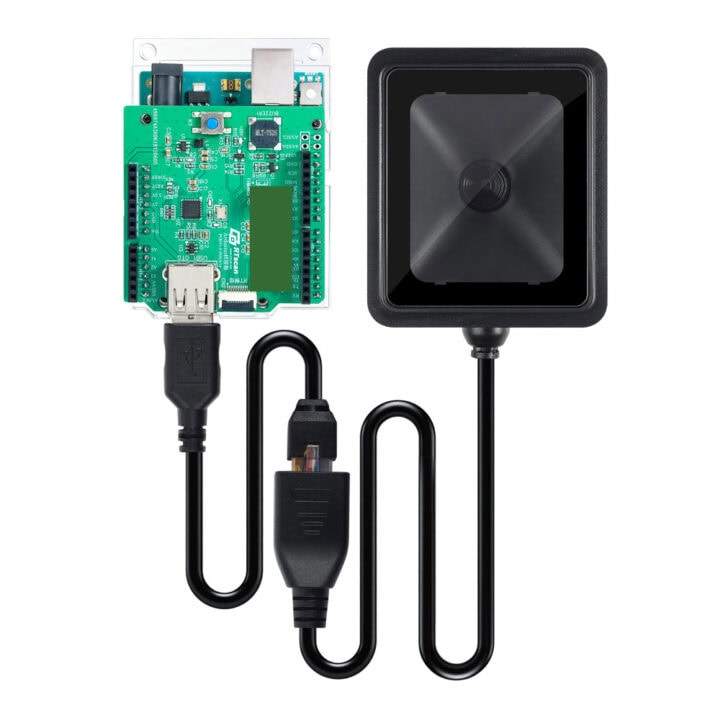
Connect the 2D QR barcode scanner via USB interface ( here we take RT870 as an example)
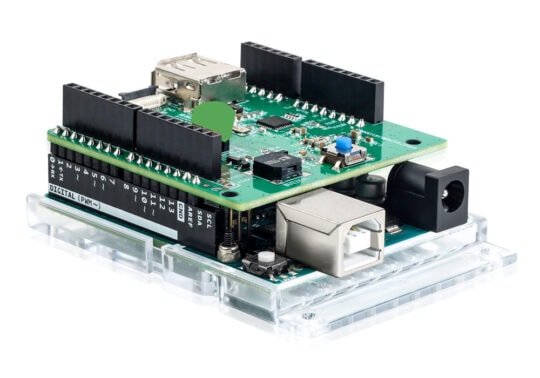
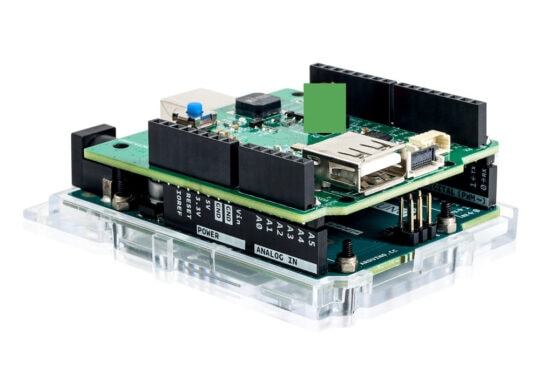
You can also choose our RT870 for your solution: use an Arduino USB host shield as shown below.
Part III: Sample code/ Control the QR barcode scanner via Arduino system
We developed sample code to work with our scanners so that you can copy our source code and program your system very quickly, without needing to write the whole code one by one; save your time and speed up your integration work!
1 . USB CDC (USB virtual COM) Communication
In this solution, the scanner is set to USB COM port emulation mode, and the Arduino recognizes the scanner via the USB host shield.
Step 1: Hardware connection
Connect the RT870 scanner to the USB port of the Arduino USB host shield through a USB data cable.
Step 2: RT870 settings
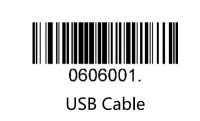
RT870 set to USB CDC mode, scan the following Setting bar code
Firstly, Set to USB cable
Then, Set to USB-CDC mode
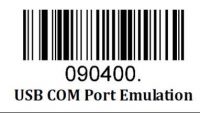
*Recognized as USB com port device on the computer.
Step 3:Include the library
Arduino Library Manager
First, install Arduino IDE version 1.6.2 or newer, then simply use the Arduino Library Manager to install the library.
Please see the following page for instructions:
Manual installation
First, download the library by clicking on the following link:
https://github.com/felis/USB_Host_Shield_2.0
Then uncompress the zip folder and rename the directory to “USB_Host_Shield_20”, as any special characters are not supported by the Arduino IDE.
Now open up the Arduino IDE and open “File>Preferences”. There you will see the location of your sketchbook. Open that directory and create a directory called “libraries” inside that directory. Now move the “USB_Host_Shield_20” directory to the “libraries” directory.
The final structure should look like this:
- Arduino/
- libraries/
- USB_Host_Shield_20/
- libraries/
Now quit the Arduino IDE and reopen it.
Now you should be able to open all the examples codes by navigating to “File>Examples>USB_Host_Shield_20”, and then select the example.
For more information please visit the following sites:
http://arduino.cc/en/Guide/Libraries
Step 4: Run the sample code
Run: acm_terminal. ino
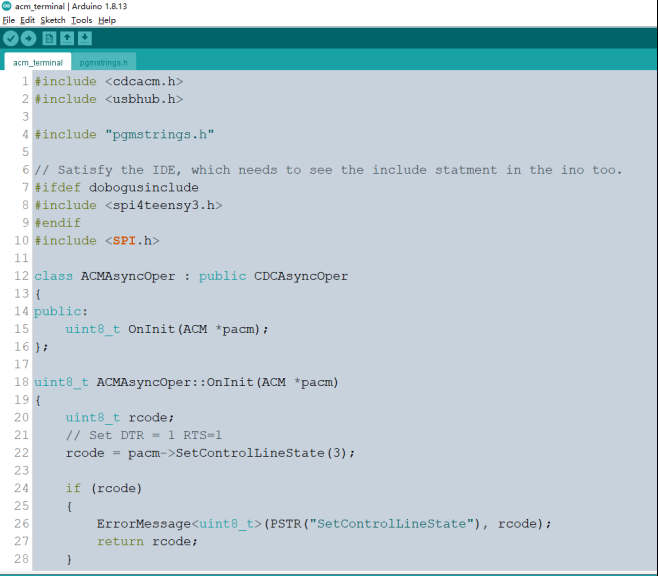
Open the serial port for debugging
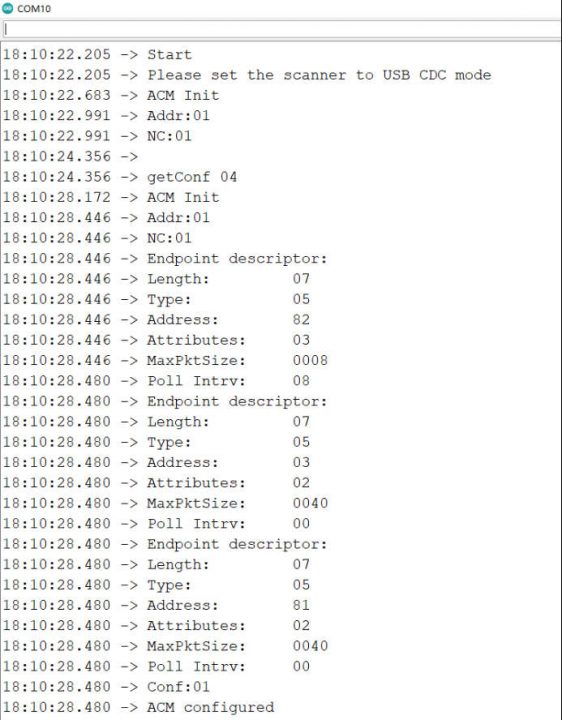
Scan any barcode and it will be shown as below:
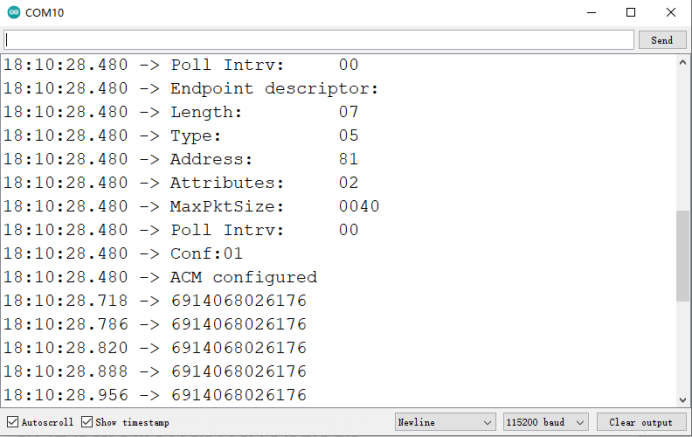
2. USB-HID Communication
In this solution, the scanner is set to USB HID KBW mode. The Arduino recognizes the scanner via the USB host shield.
Step 1: Hardware connection
Connect the RT870 scanner to the Arduino USB host shield’s USB port using a USB data cable.
Step 2: RT870 settings
RT870 set to USB-HID mode, scan the following Setting bar code
Set to the USB output
Set to USB-HID mode
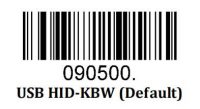
*Recognized as a HID Keyboard Device on the computer.
Step 3: Include the library
Arduino Library Manager
First, install Arduino IDE version 1.6.2 or newer, then simply use the Arduino Library Manager to install the library.
Please see the following page for instructions:
Manual installation
First, download the library by clicking on the following link:
https://github.com/felis/USB_Host_Shield_2.0
Then uncompress the zip folder and rename the directory to “USB_Host_Shield_20”, as any special characters are not supported by the Arduino IDE.
Now open up the Arduino IDE and open “File>Preferences”. There you will see the location of your sketchbook. Open that directory and create a directory called “libraries” inside that directory. Now move the “USB_Host_Shield_20” directory to the “libraries” directory.
The final structure should look like this:
- Arduino/
- libraries/
- USB_Host_Shield_20/
- libraries/
Now, quit the Arduino IDE and reopen it.
Now you should be able to open all the examples codes by navigating to “File>Examples>USB_Host_Shield_20”, and then select the example.
For more information, please visit the following sites:
http://arduino.cc/en/Guide/Libraries
https://learn.adafruit.com/adafruit-all-about-arduino-libraries-install-use.
Step 4: Run the sample code
Run:
Scanner_USBHIDUniversalKbd. ino
Please contact us to get full sample codes: sales@rtscan.net
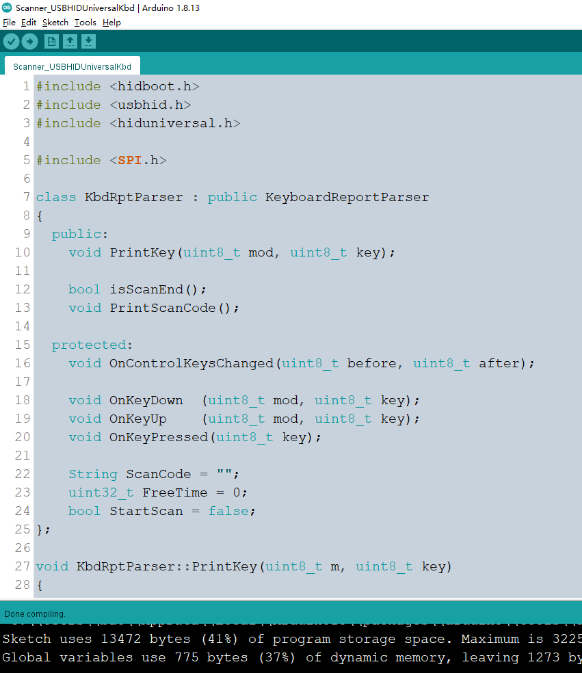
Open the serial port for debugging
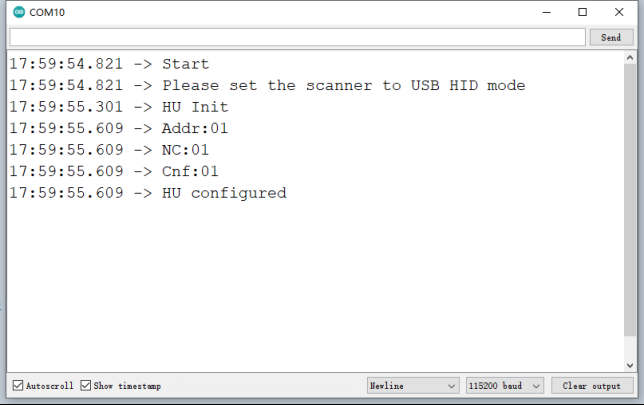
Scan any barcode, and it will be shown as below:
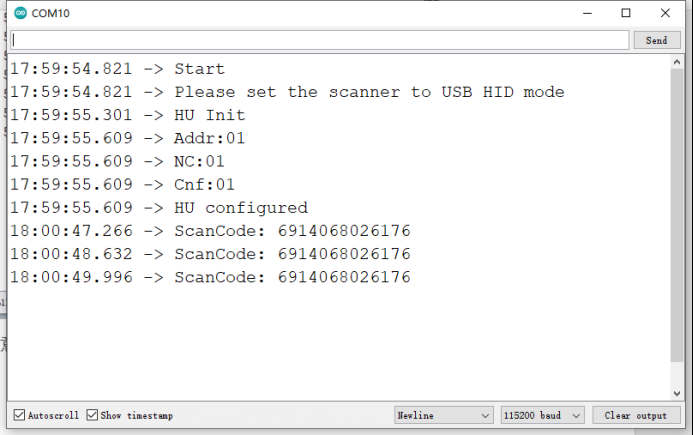
Part VI: Video Demo
Please refer to the following video for specific operations:
If you need an OEM barcode scanner module for Arduino, please read:
If you need an OEM barcode scanner for Raspberry Pi, please read:
If you need an embedded barcode scanner for Raspberry Pi, please read: