Wiegand Barcode Scanner & NFC reader And Access Control Solution

Introduction:

Most of the barcode scanners do not have Wiegand output. In addition, much often when we configure a barcode scanner with an access control panel,  we would meet these problems: 1. the output data are wrong–different from the original bar code content. 2. no output. These problems are usually because the data format does not match the requirements of the control panel. For example data length, ASCII, hex, or direct output data, with or without prefix/ suffix…

Now we can use the RTWG01 Wiegand converter to achieve Wiegand output and solve the above problems. Via this RTWG01, we can easily customize the output data transferred to the access controller board. Data length, ASCII, hex, or direct output data, with or without prefix/ suffix… For example: if a barcode includes information: “William zhang, 2345666677, ****224455555*…” we can pick up number “34566667” or “23456666” or “5666677”…

Firstly, we have the RTMU86 that output by the Wiegand interface directly:

Wiegand NFC and 2D Barcode Scanner: RTMU86

And we also developed solutions for three types of barcode scanners:

In this article, we take barcode & NFC reader RTX200 as an example and tell you how to build the solution: configure the scanner and RTWG01 converter, detailed introduction for program the access control software. If you want to learn more about the above solutions for scan engines or embedded scanners, please email us: sales@rtscan.net.

A. Hardware preparation:

  • RTX200 Barcode& NFC Scanner
  • RTWG01 converter
  • Type 5 and above 8 core RJ45 wire

Hardware connection

RTX200 output the TTL signal through the RJ45 network cable, the other side of the network cable is connected to the RTWG01 which output with Wiegand signal and then connect to the access controller

Connect RTX200 with Wiegand Converter RTWG01 via RJ45 wire cable

Connect RTWG01 Wiegand port using wire to access control board Wiegand port

B. Software preparation

  • Access control system:  AccessControlV7.61en(ask RTscan sales engineers sales@rtscan.net to learn more about this system)
  • RTX200 Scanner Configuration Software:
  • Config Tool V2.3.12_JF
  • RTWG01 configuration software:
  • RTSCAN RTWG01Config Tool V1.1

Firstly, use Config Tool V2.3.12_JF to set up RTX200 parameters, then connect the RTX200 with the RTWG01 converter, and configure the RTWG01 by RTSCAN RTWG01 Config Tool V1.1.

C. RTX200 Scanner Settings

The RTX200 needs to be set up to TTL output, baud rate 9600, 8 n 1; output mode: direct output, decoded data output to TTL directly.

1. Select Product Model

Run the Config Tool V2.3.12_JF, select: TX

Click next

2. Set Working Mode

Set work mode to ordinary

  • Output TTL
  • Serial port setting
  • Baud rate:9600
  • Data Bit:8
  • Check Digit: NONE
  • Stop Bit:1

3 Setting the output format

Select Output format->Direct in the “Advanced” option

4. Save Configuration

Click config code to generate the configuration QR code, use the device to scan the QR code to complete the configuration

D. RTWG01 converter settings

RTWG01 default baud rate 9600, the output mode is the digital string to digital output, Wiegand format for automatic recognition, interception function off

1.Set output format

Select “Digital char turn Hex” output format

After scanning the barcode, “Digital char turn Hex” converts the digital string to digital output.

For example: scan a barcode “987654321”, and the access controller will also get data”987654321”.

2. Set the Wiegand format

Set the Wiegand format “auto”

Set to auto mode, automatically output the corresponding format Wiegand signal according to the input content length.

  • 0-16777216 output Wiegand 26 signal
  • 16777216-4294967296 output Wiegand 34 signal
  • 429496729-18446744073709551616 output Wiegand 66 signal

3. Save Configuration

Connect RTWG01 with RTX200 scanner, use the scanner to read the configuration code generated by the RTWG01 config Tool.

E. Installation and Setting of Access Control System Software

1. installation AccessControlV7.61en

This software comes with RTscan’s access controller board, if you want, please contact the RTscan sales team to get the controller and the software. But you can also use your own access control software & system.

2.Run and log in to the Access Control System

Login Control Software

Default User Name: abc, password 123

3. Add Access Controller device

Click “1. add C controllers by Searching” scan to add a master controller board inside the LAN

Or click on the Configuration>Controllers ->Search to scan the control access controller in your LAN

4. Modify file controller IP

Select the scanned controller, right-click to select “Configure” to configure the device IP address. You can also specify the device address in the router DHCP server.

Click “Add Found To Database” Add Device

5. Add Person and Card Number

Choose Configuration ->Personnel->Auto Add Add Person

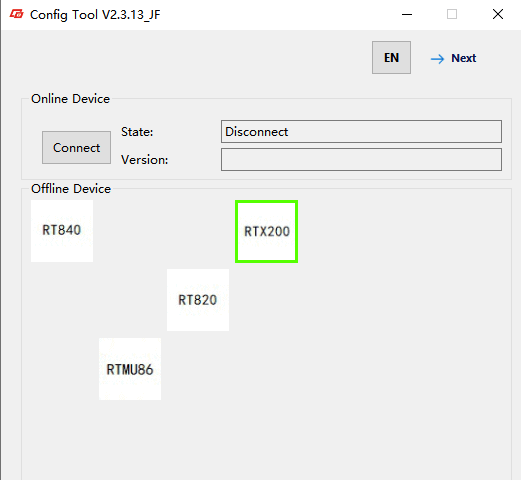
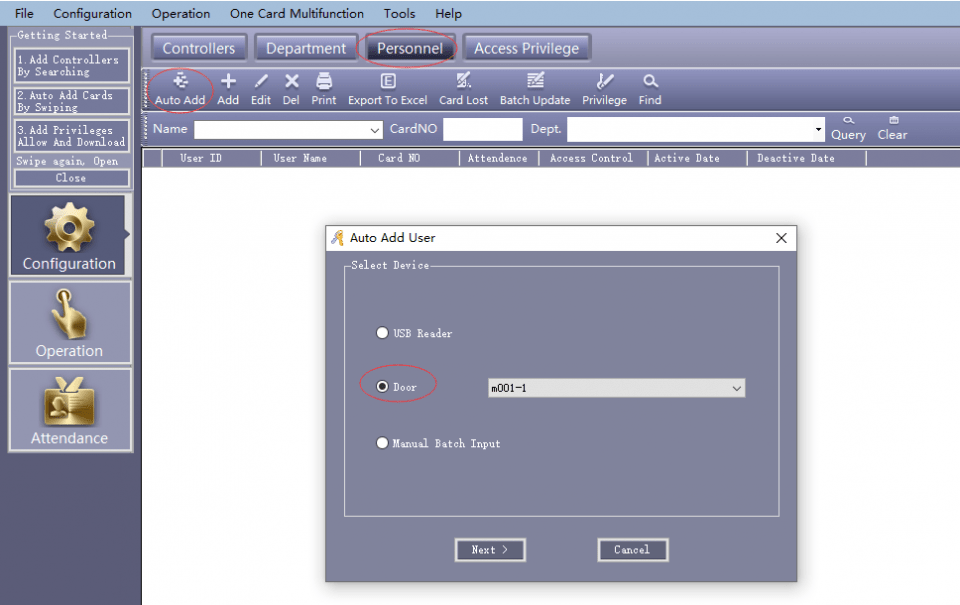
Select the device to enter the door card and Click next

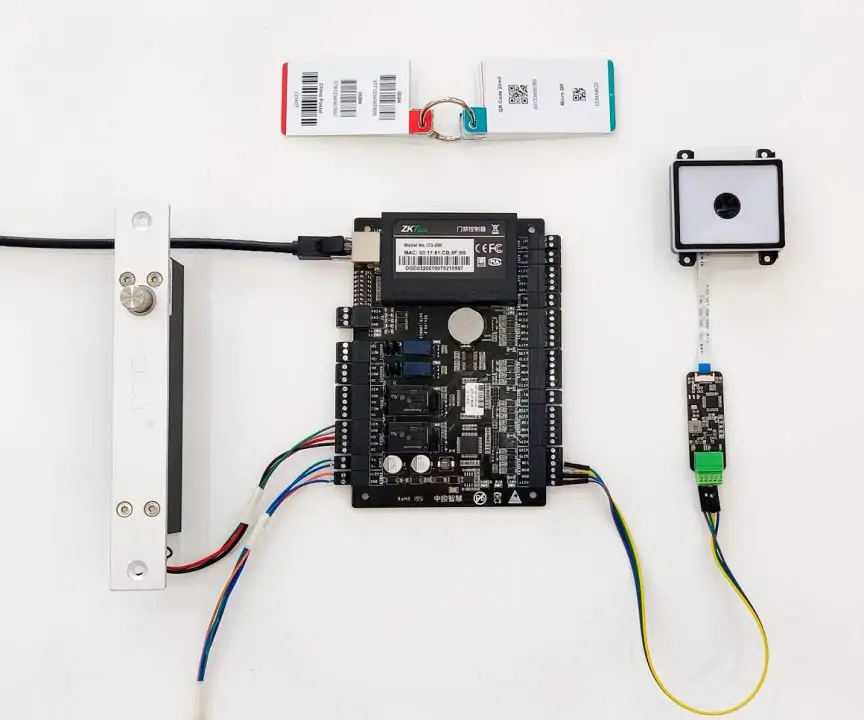
Add card number to the list by reading the barcode or NFC card

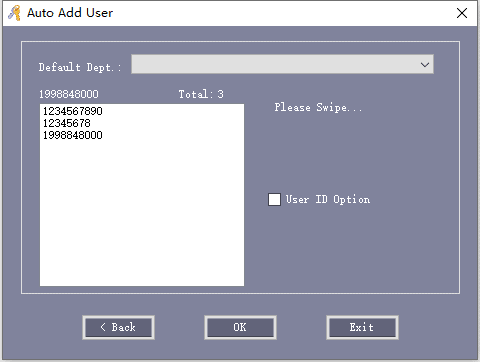
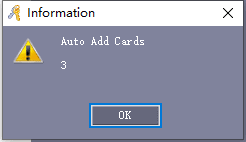
Click OK to enter these card numbers


You can also manually enter user information by: Configuration ->Personnel->Add manually


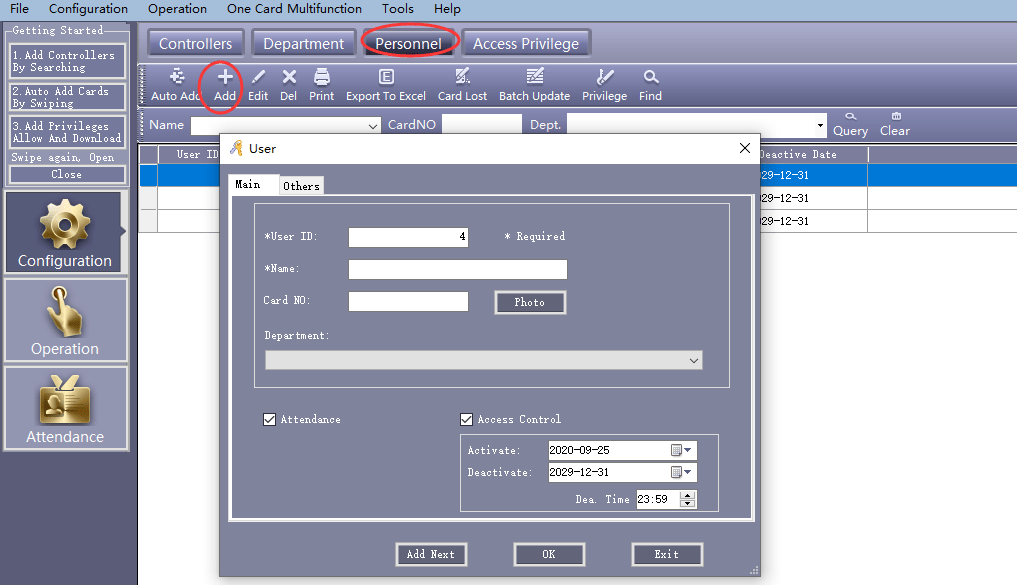
6. Access permissions

Click Configuration ->Access Privilege->Change Privileges to assign permissions to users


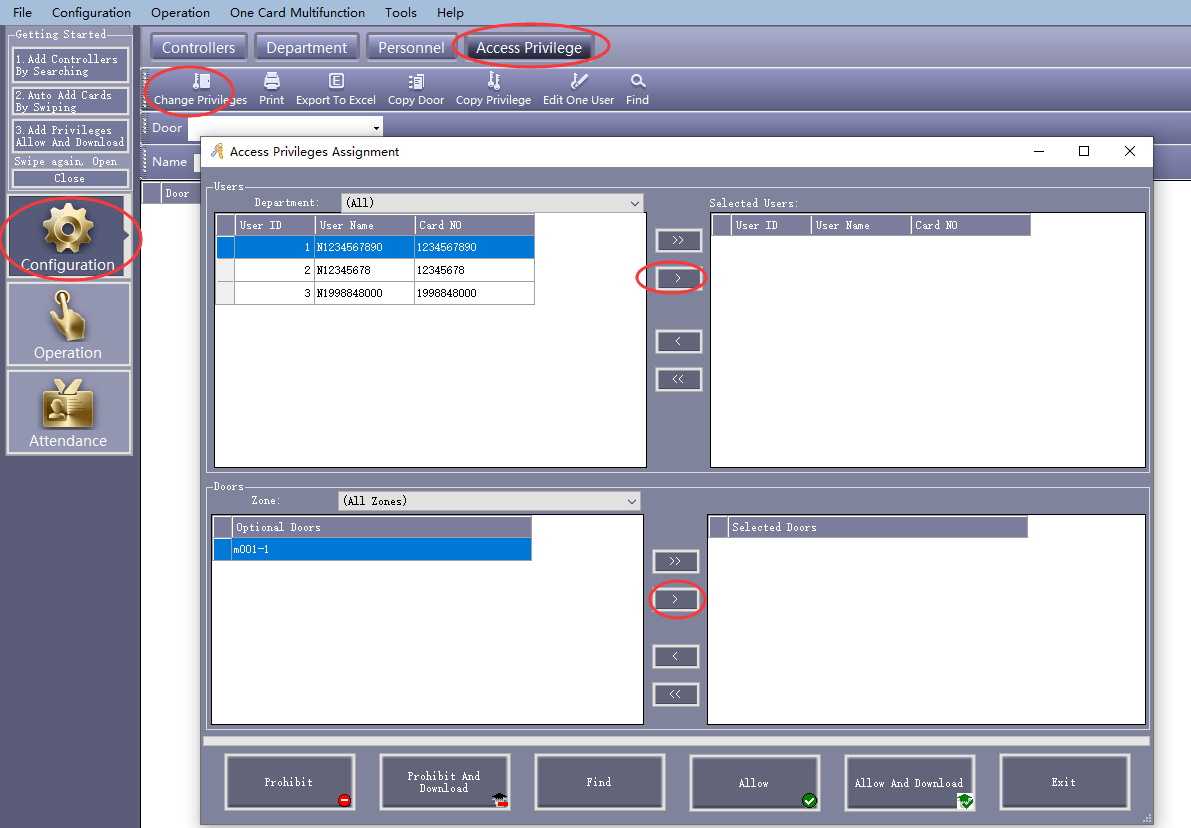
Click on > and >> to add users and access control


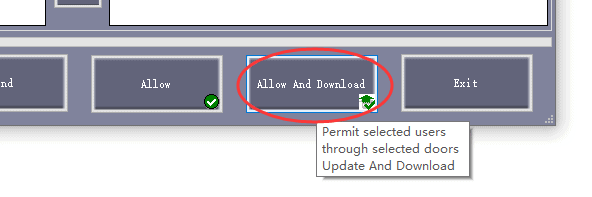
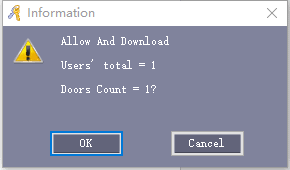
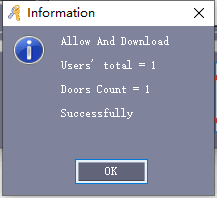
Click Allow And Download to save the card number to the control panel

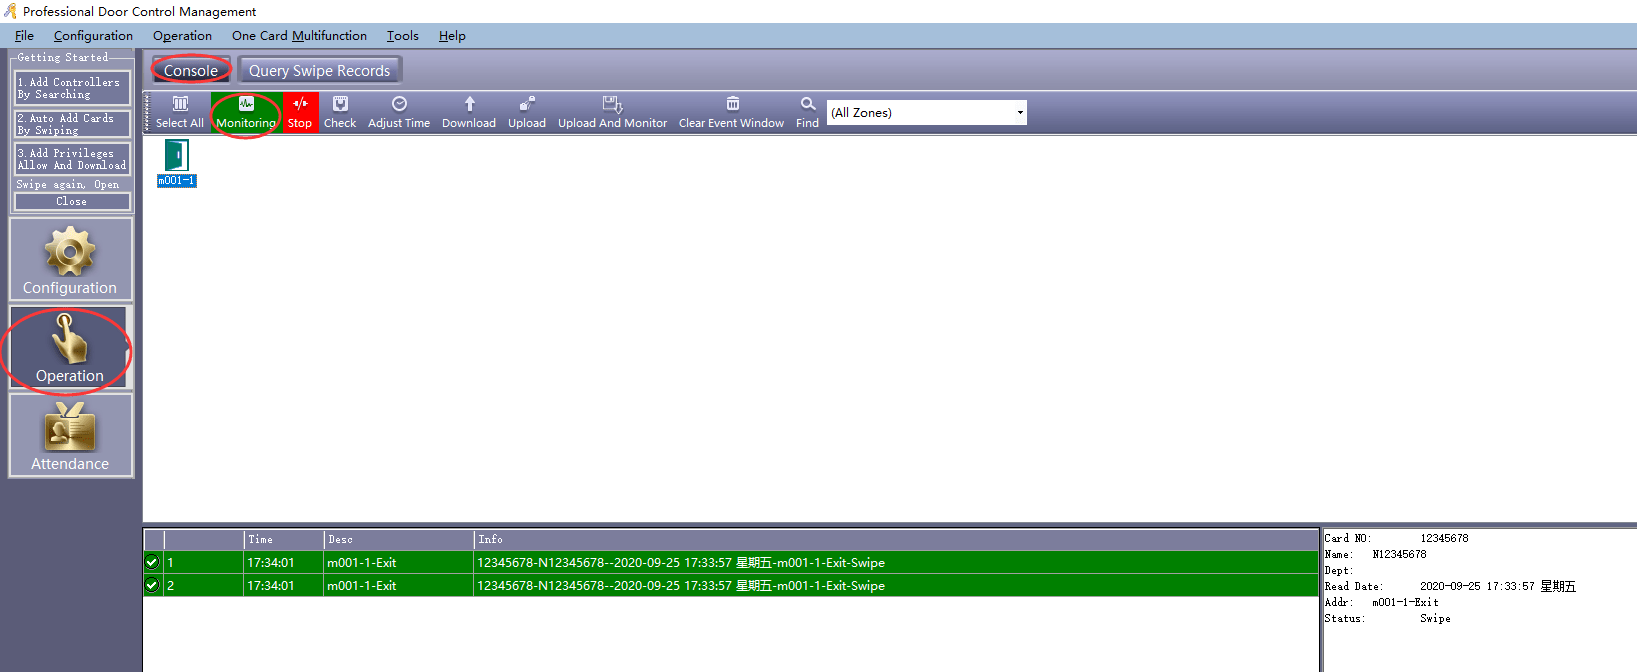
7. Real-time monitoring

Click Operation ->Real-Time Monitoring

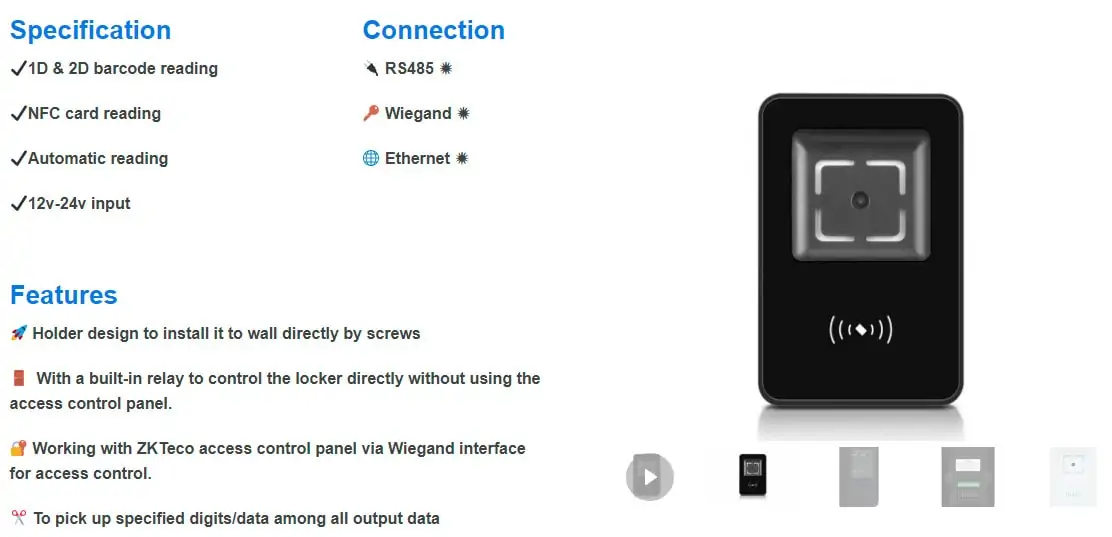
Read NFC card or scan bar code to control switch on/off of the access


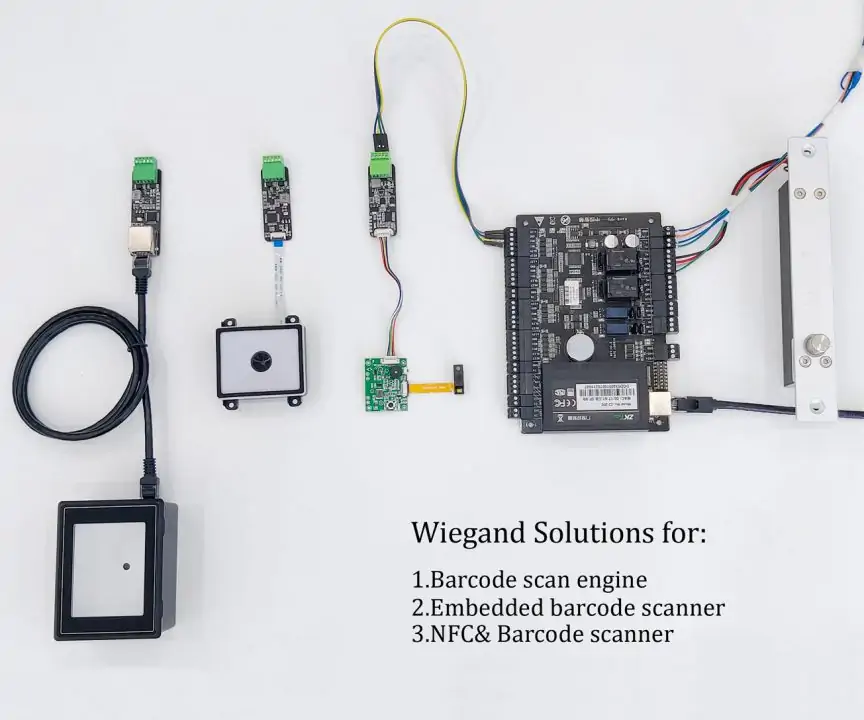
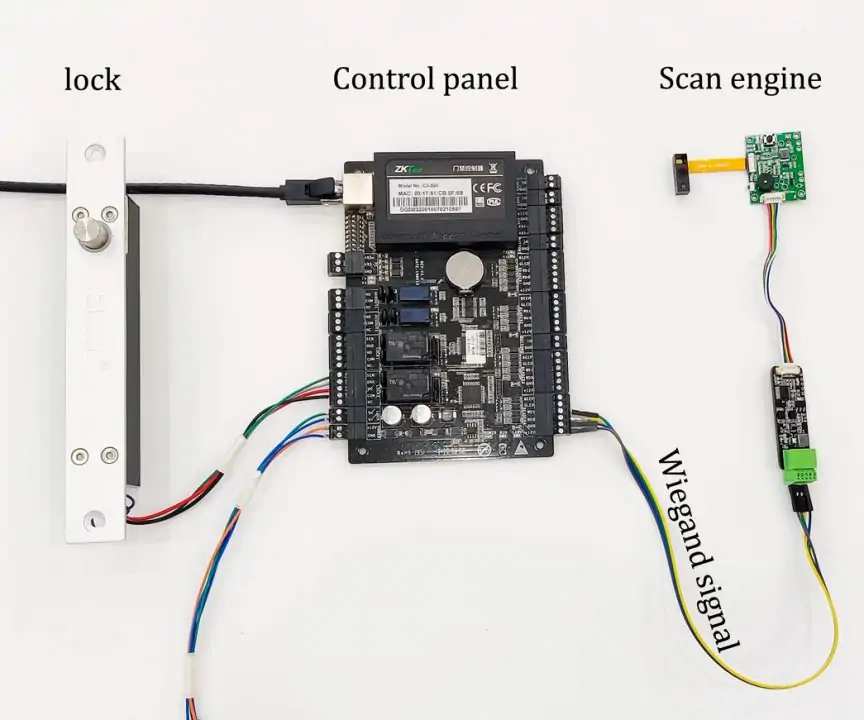
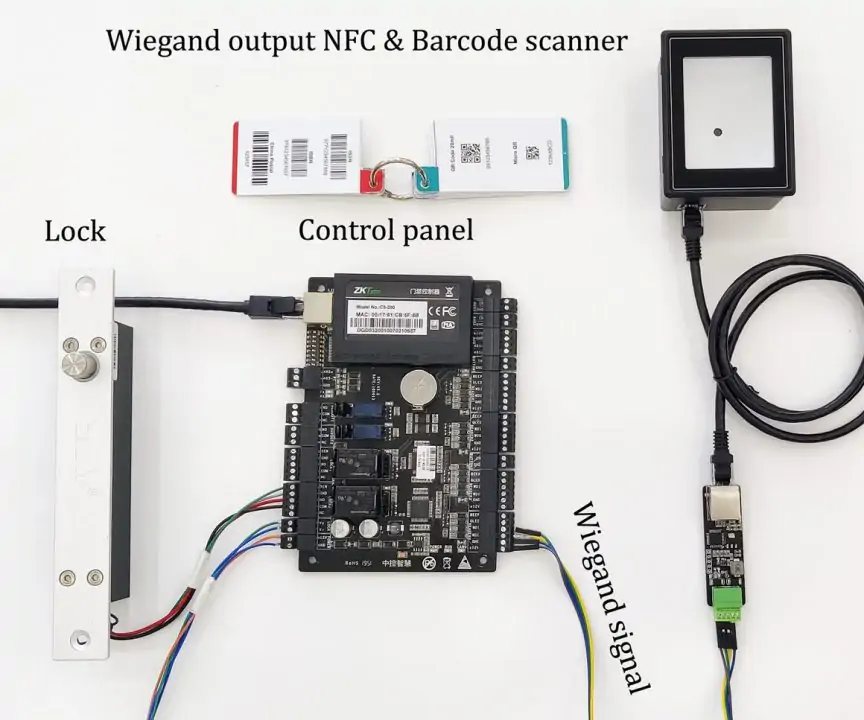
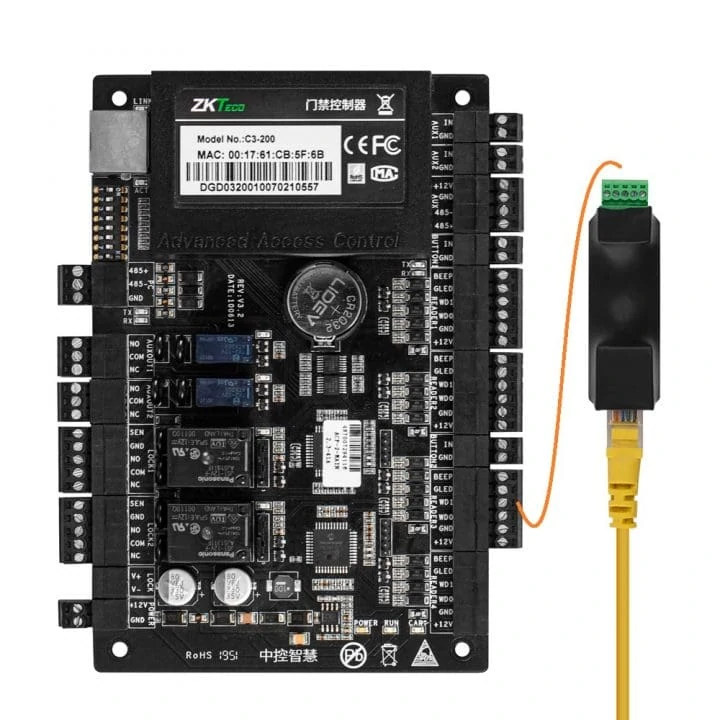
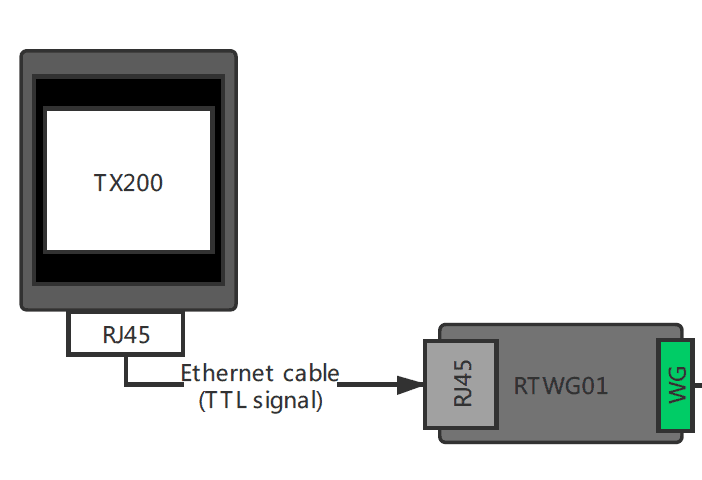
F. Intercepting data to output Wiegand signal to access controller

More often, the bar code data or NFC card data exceeds the Wiegand length or contains other non-numeric characters. In these kinds of applications, we need to make the scanner intercept and only pick up the data we want, and then output to the Wiegand signal.

For example: If a barcode contains information “mobile:11223344, emailuser@rtscan.net “, and we need to intercept the 11223344 only to output via Wiegand interface to the access controller, then we do like this:

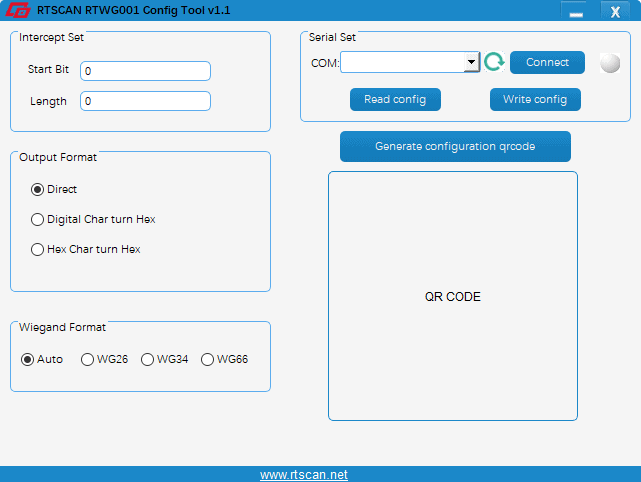
Run and Setup intercept function in RTWG01Config Tool

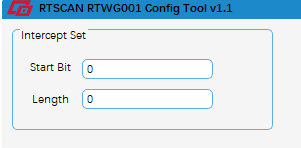
The start bit is the starting position, the length is the intercept length, for the above example: “mobile:11223344,emailuser@rtscan.net”, to intercepts 11223344, we setup:

“mobile:” length 6 byte and number “1” begin from the 7th

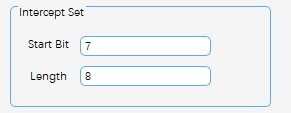
“11223344: “8 bytes long

So set to intercept 8 characters from bit 7

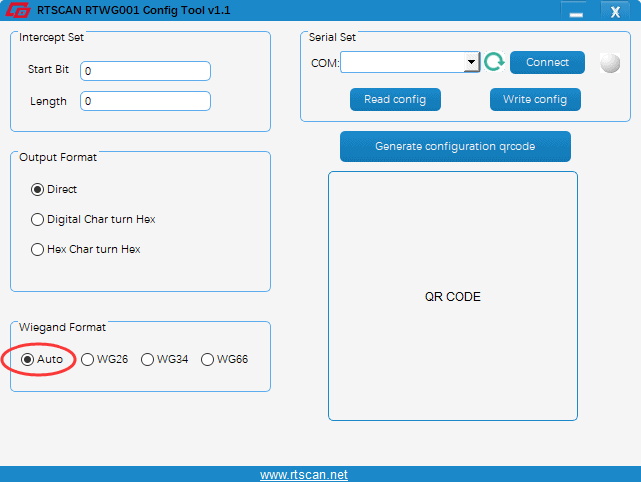
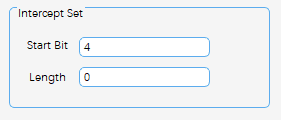
When the length is set to 0, the intercept length is all the remaining data.

For example:

If “6914068019529” and we want to intercept 068019529, it is set to:


Notes

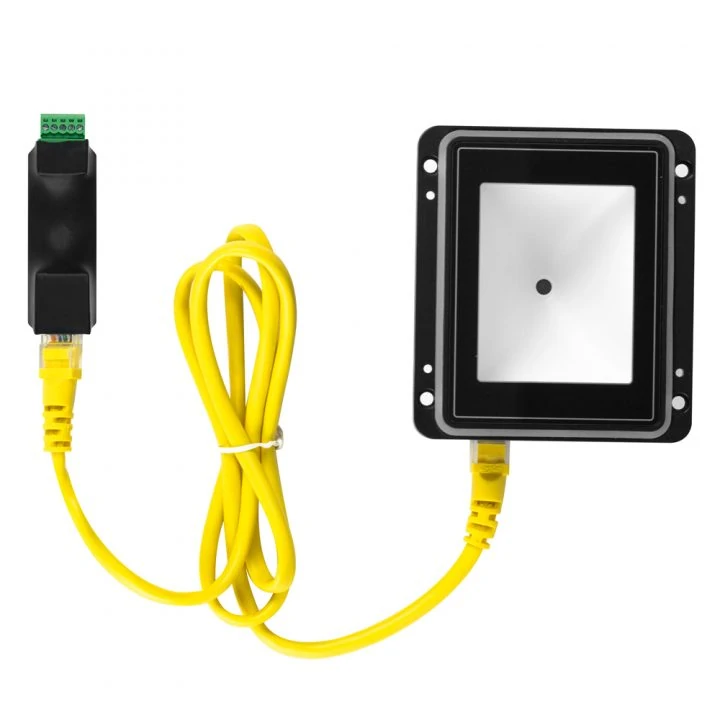
You need to set the RTX200 scanner to TTL output of 9600 8-N-1,  then work with RTWG01.


For any questions, please consult our sales engineer sales@rtscan.net or support team support@rtscan.net.

Thanks

Ask A Sample To Test Now!

    13040 View